The new version of Raspberry Pi Imager 1.8.1 will greatly simplify your life when setting up your new Raspberry Pi!
The home of Raspberry Pi Imager, a user-friendly tool for creating bootable media for Raspberry Pi devices.
⚙️ Required materials#
- Raspberry Pi (any version supported by the software)
- MicroUSB power supply (5V voltage)
- MicroSD Card (8Gb or more)
- MicroSD Card adapter (if your computer needs one)
💾 Flashing the OS into the microSD card#
After downloading and installing the Raspberry Pi Imager software from their official website, you can start it up and you should see a page similar to this one, depending on your computer’s operating system :
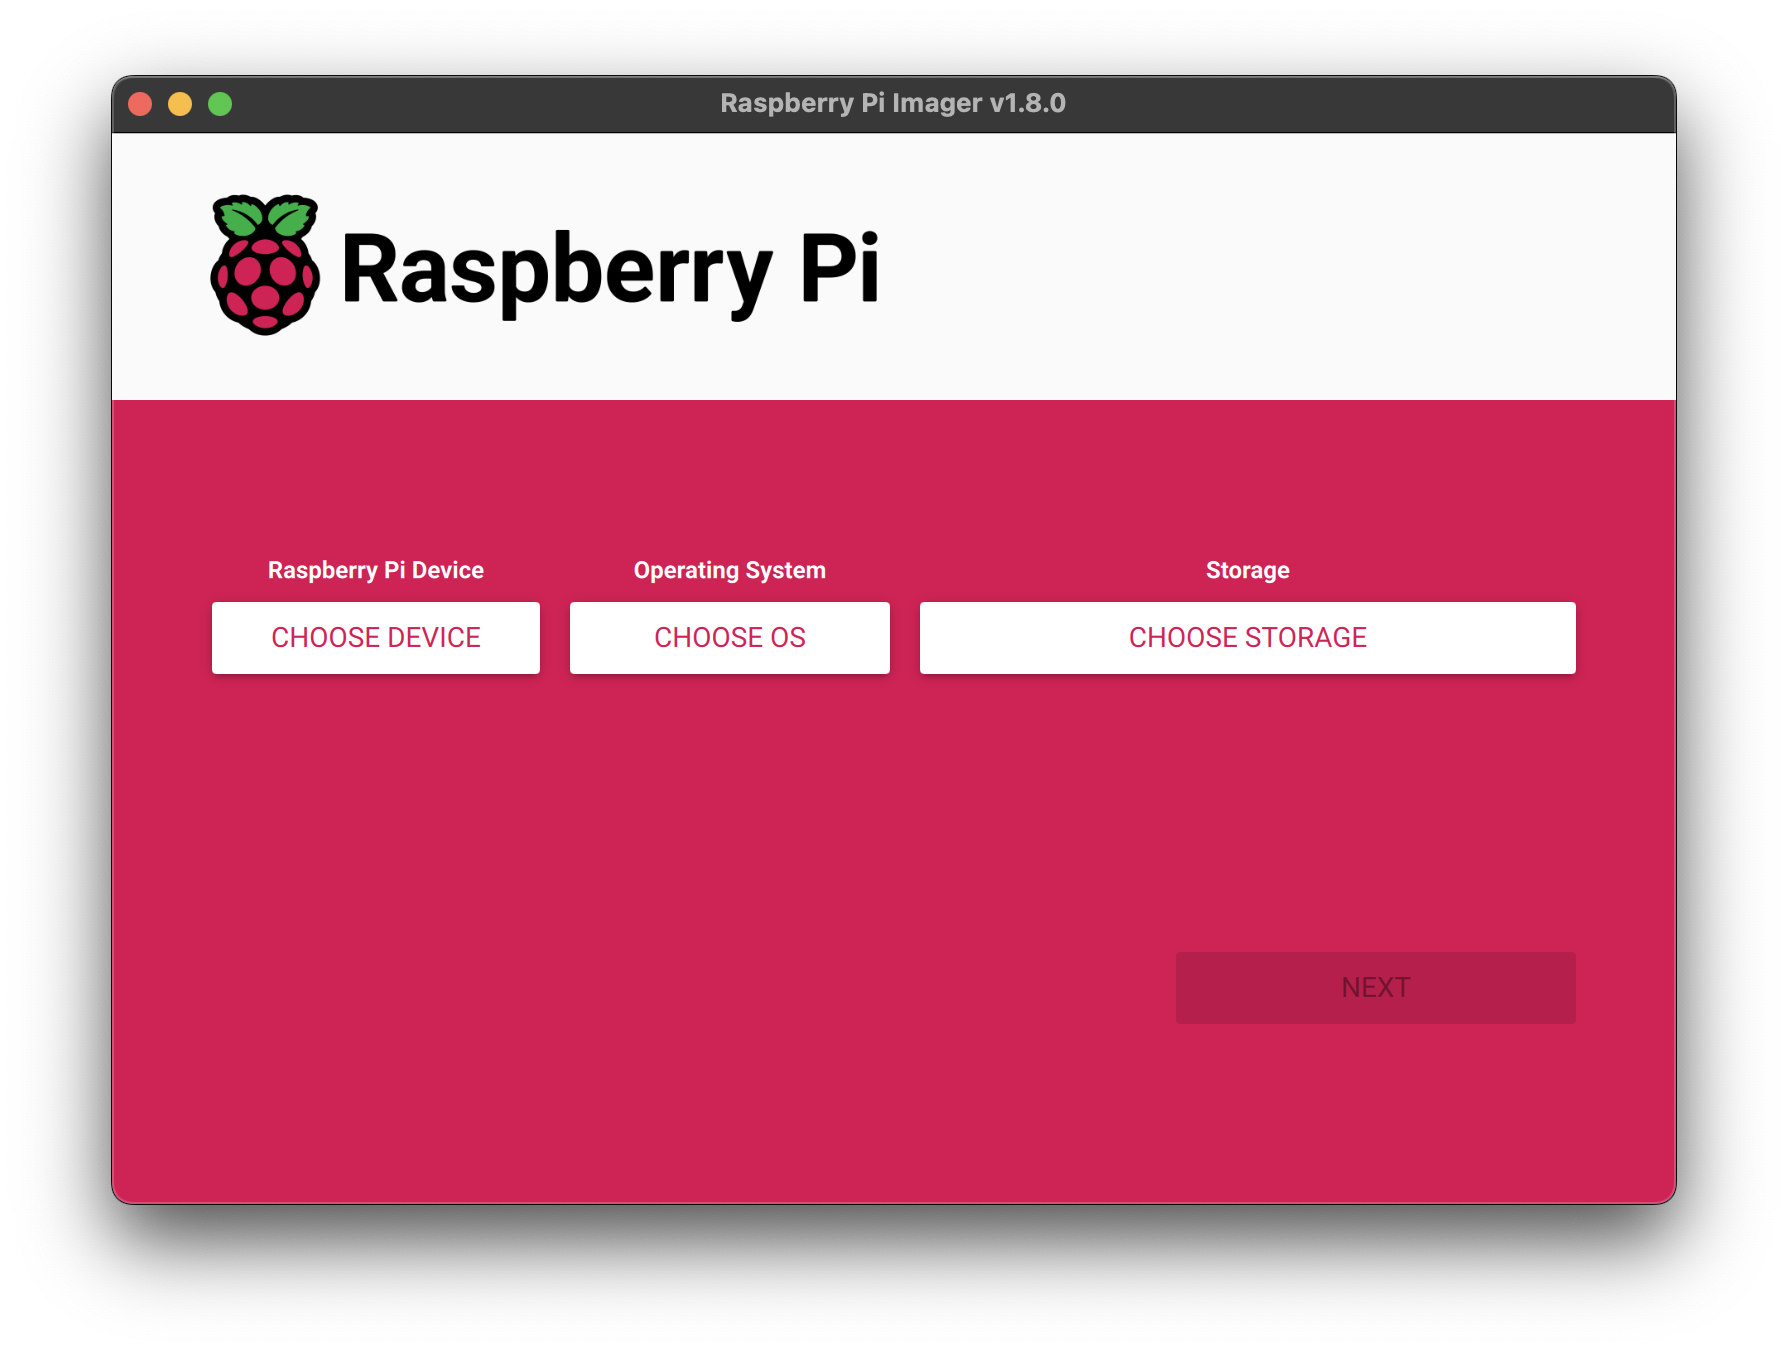
First, select the Raspberry Pi model you own.
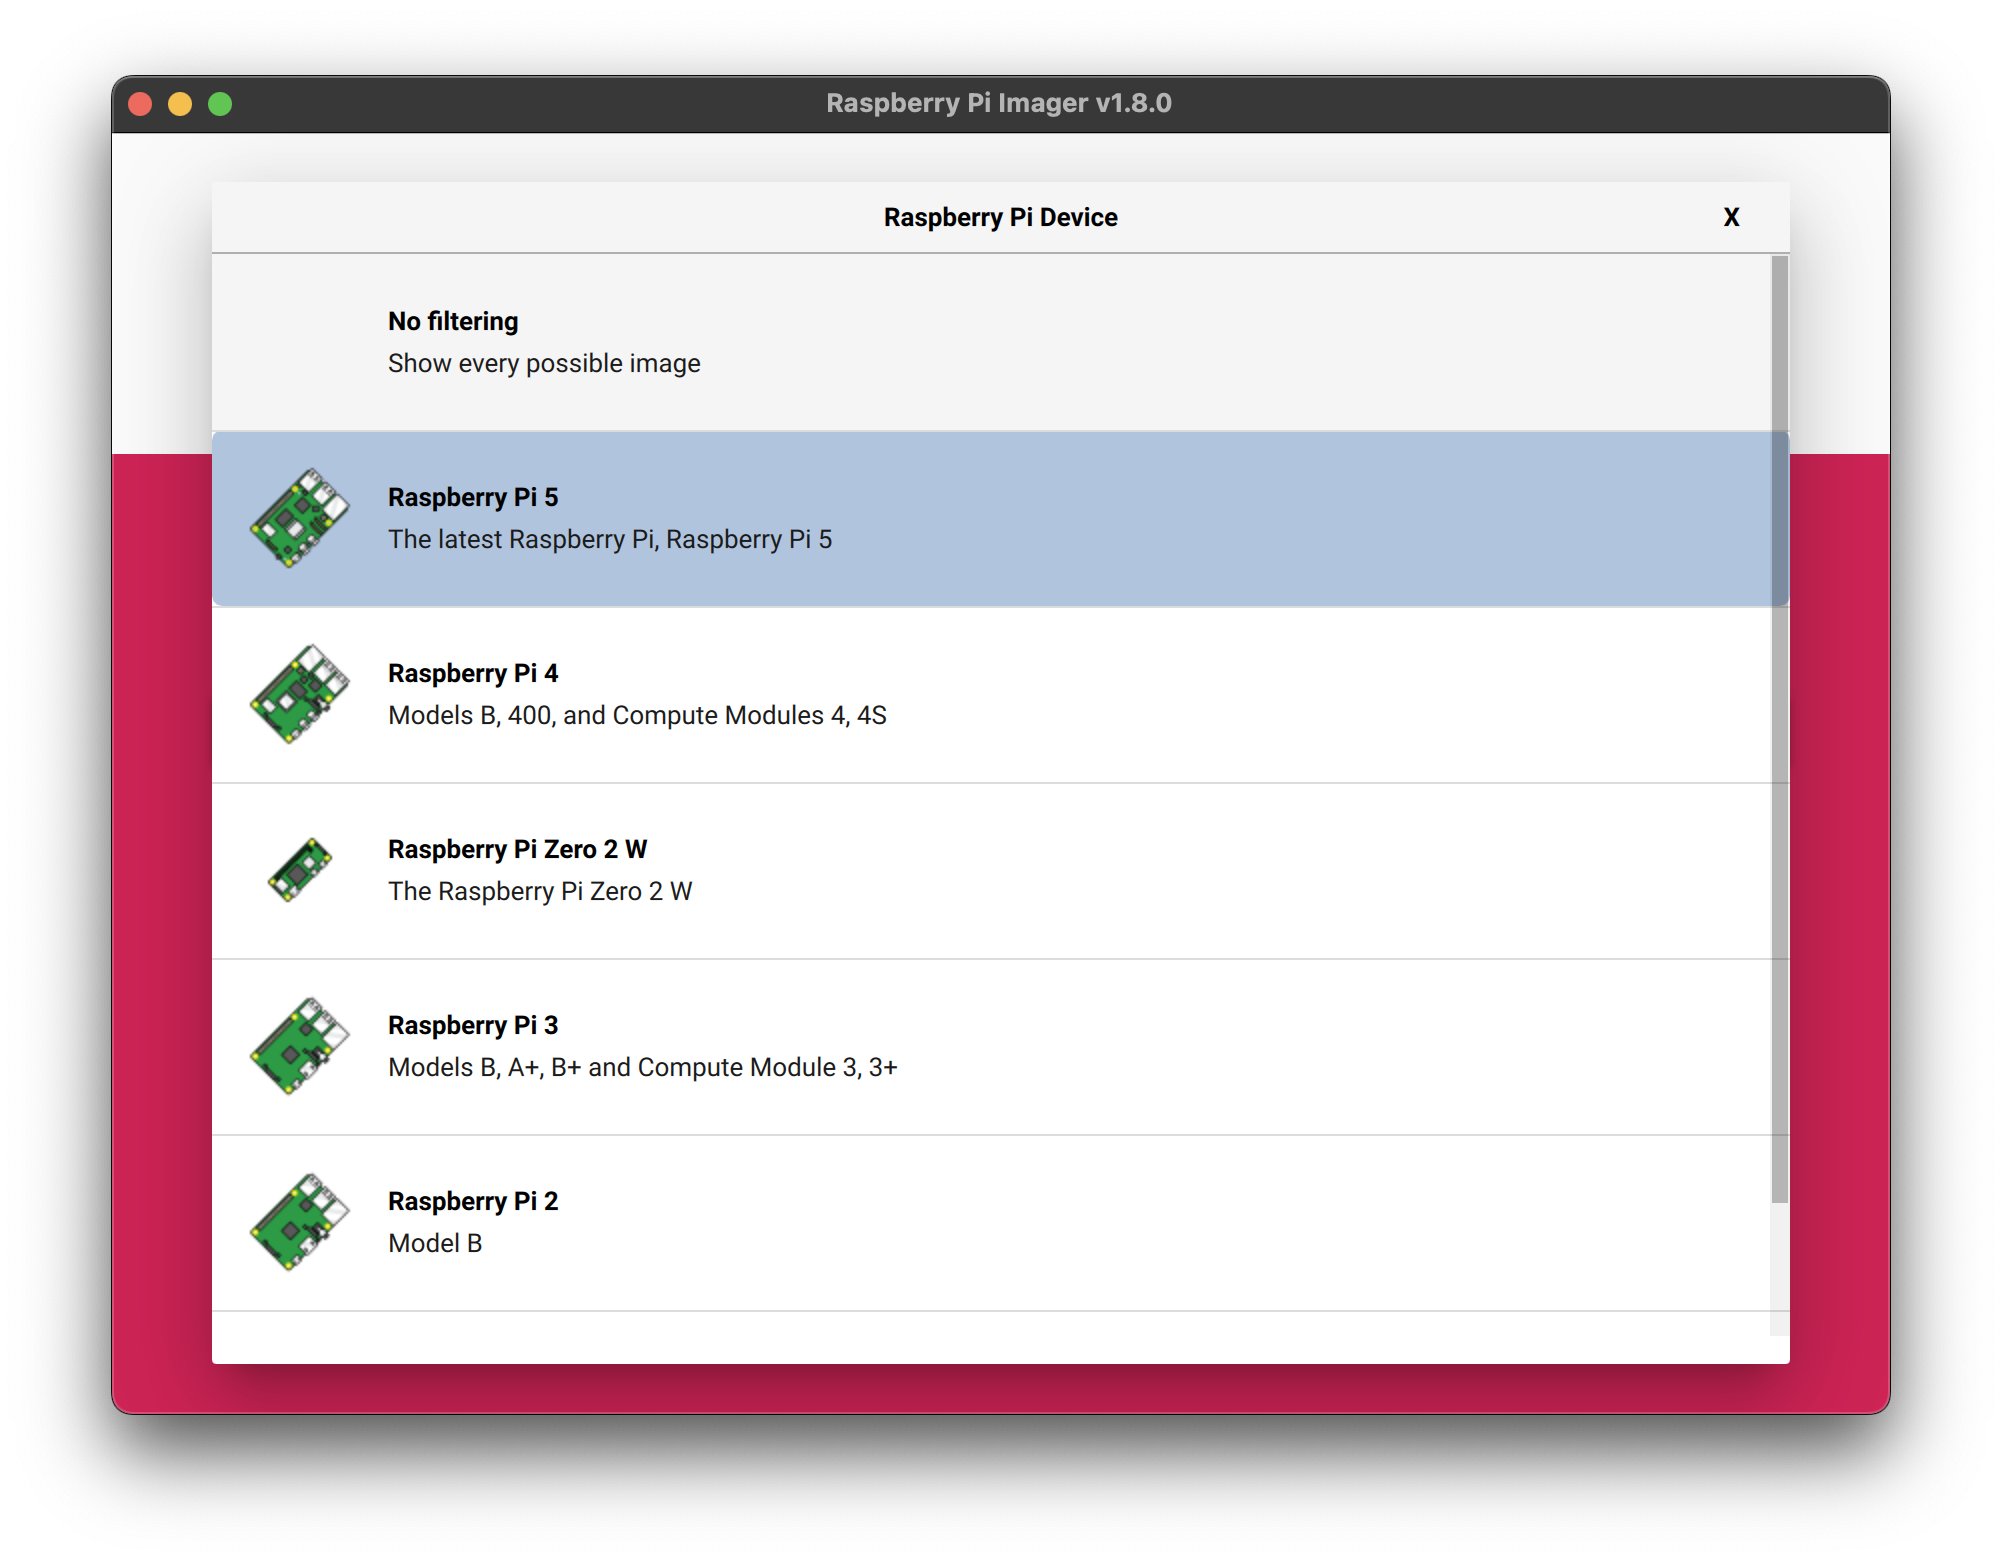
Then the operating system you wish to install on your device (Full, Light, x32, x64, etc.). For each version, you’ll have access to a description of the Raspberry versions recommended for the selected OS.
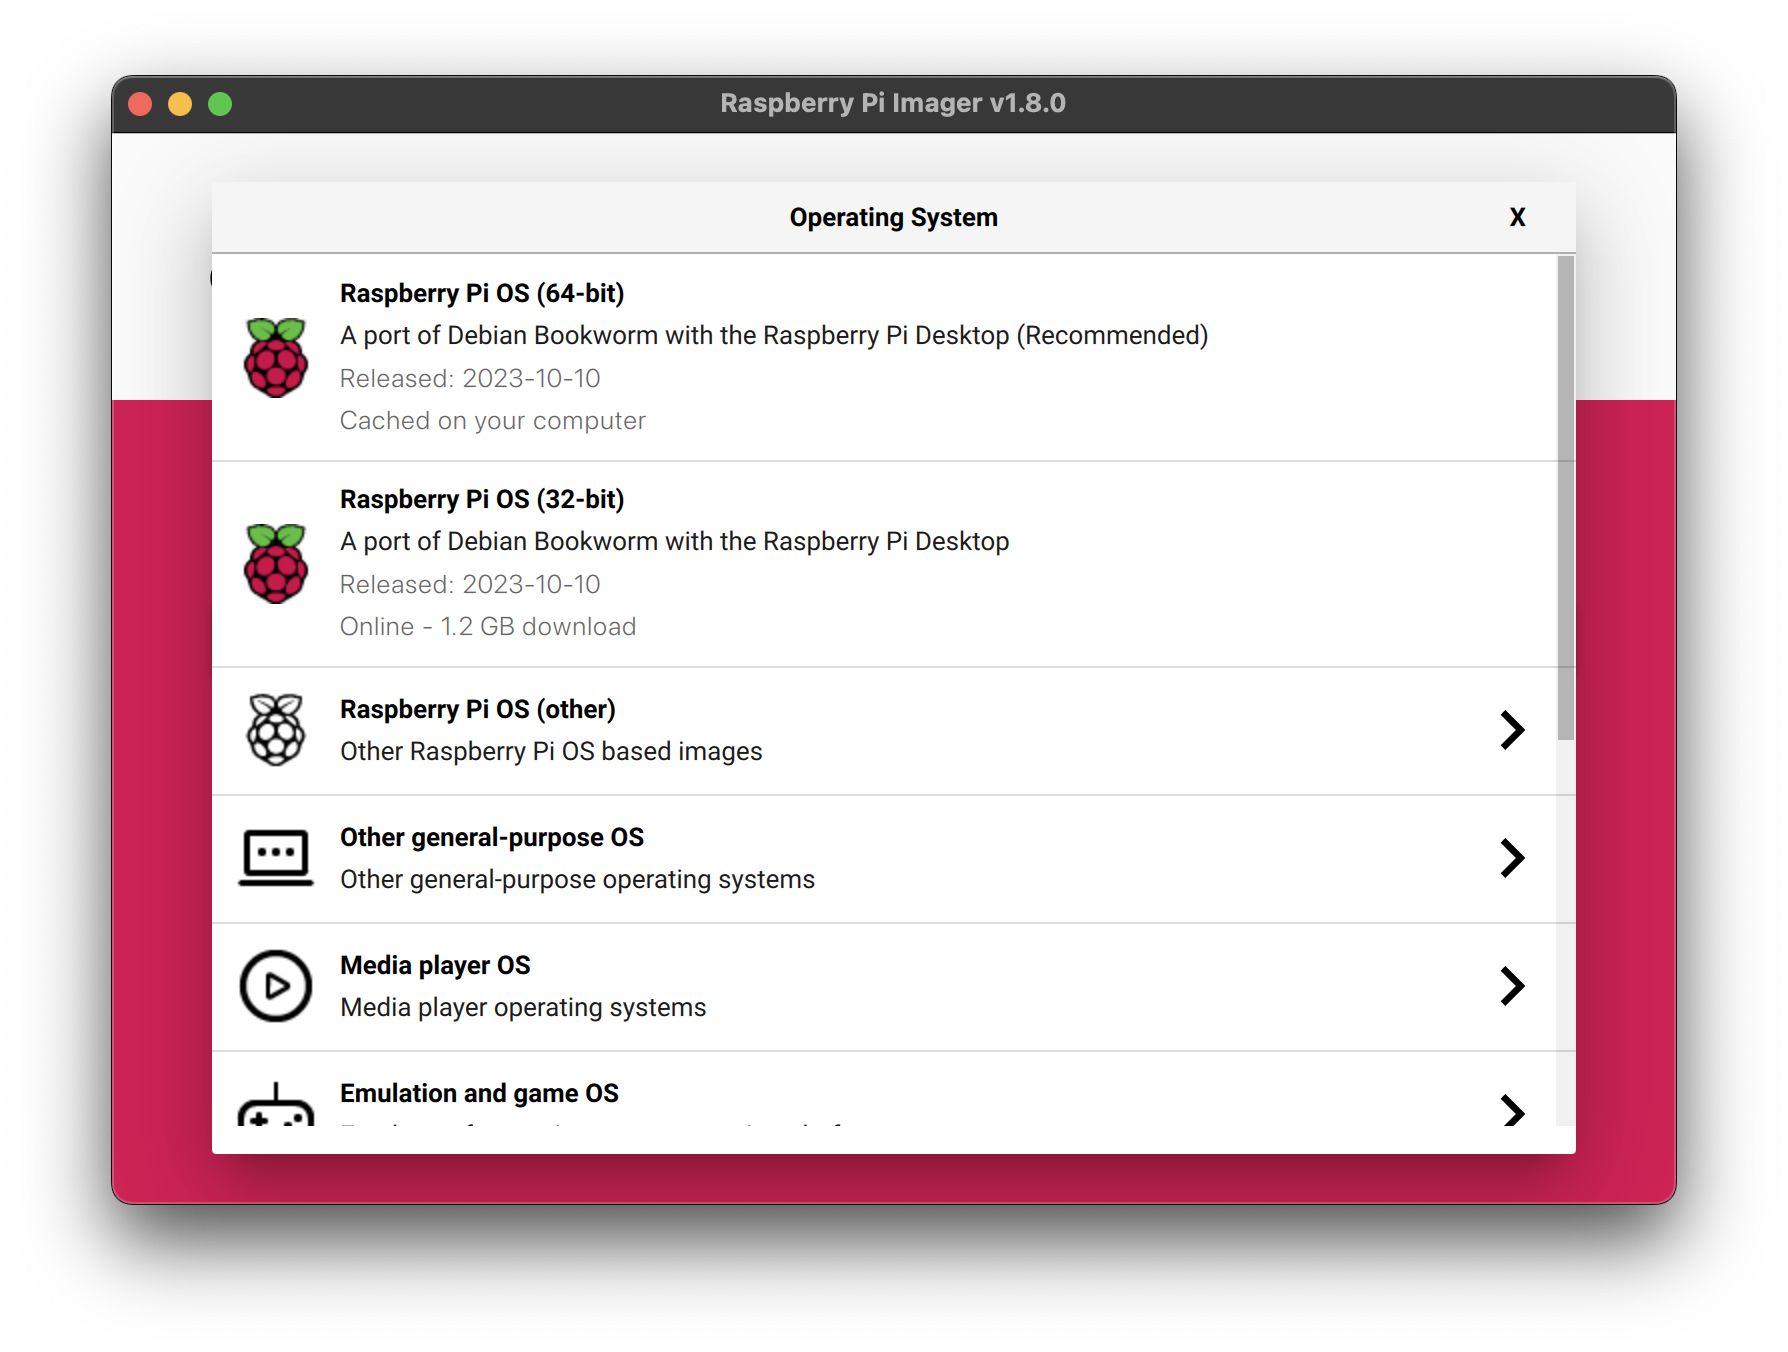
For example, I will select the Raspberry Pi OS Lite (64-bit) version for my Raspberry Pi Zero 2W (which supports operating systems with a 64-bit architecture).
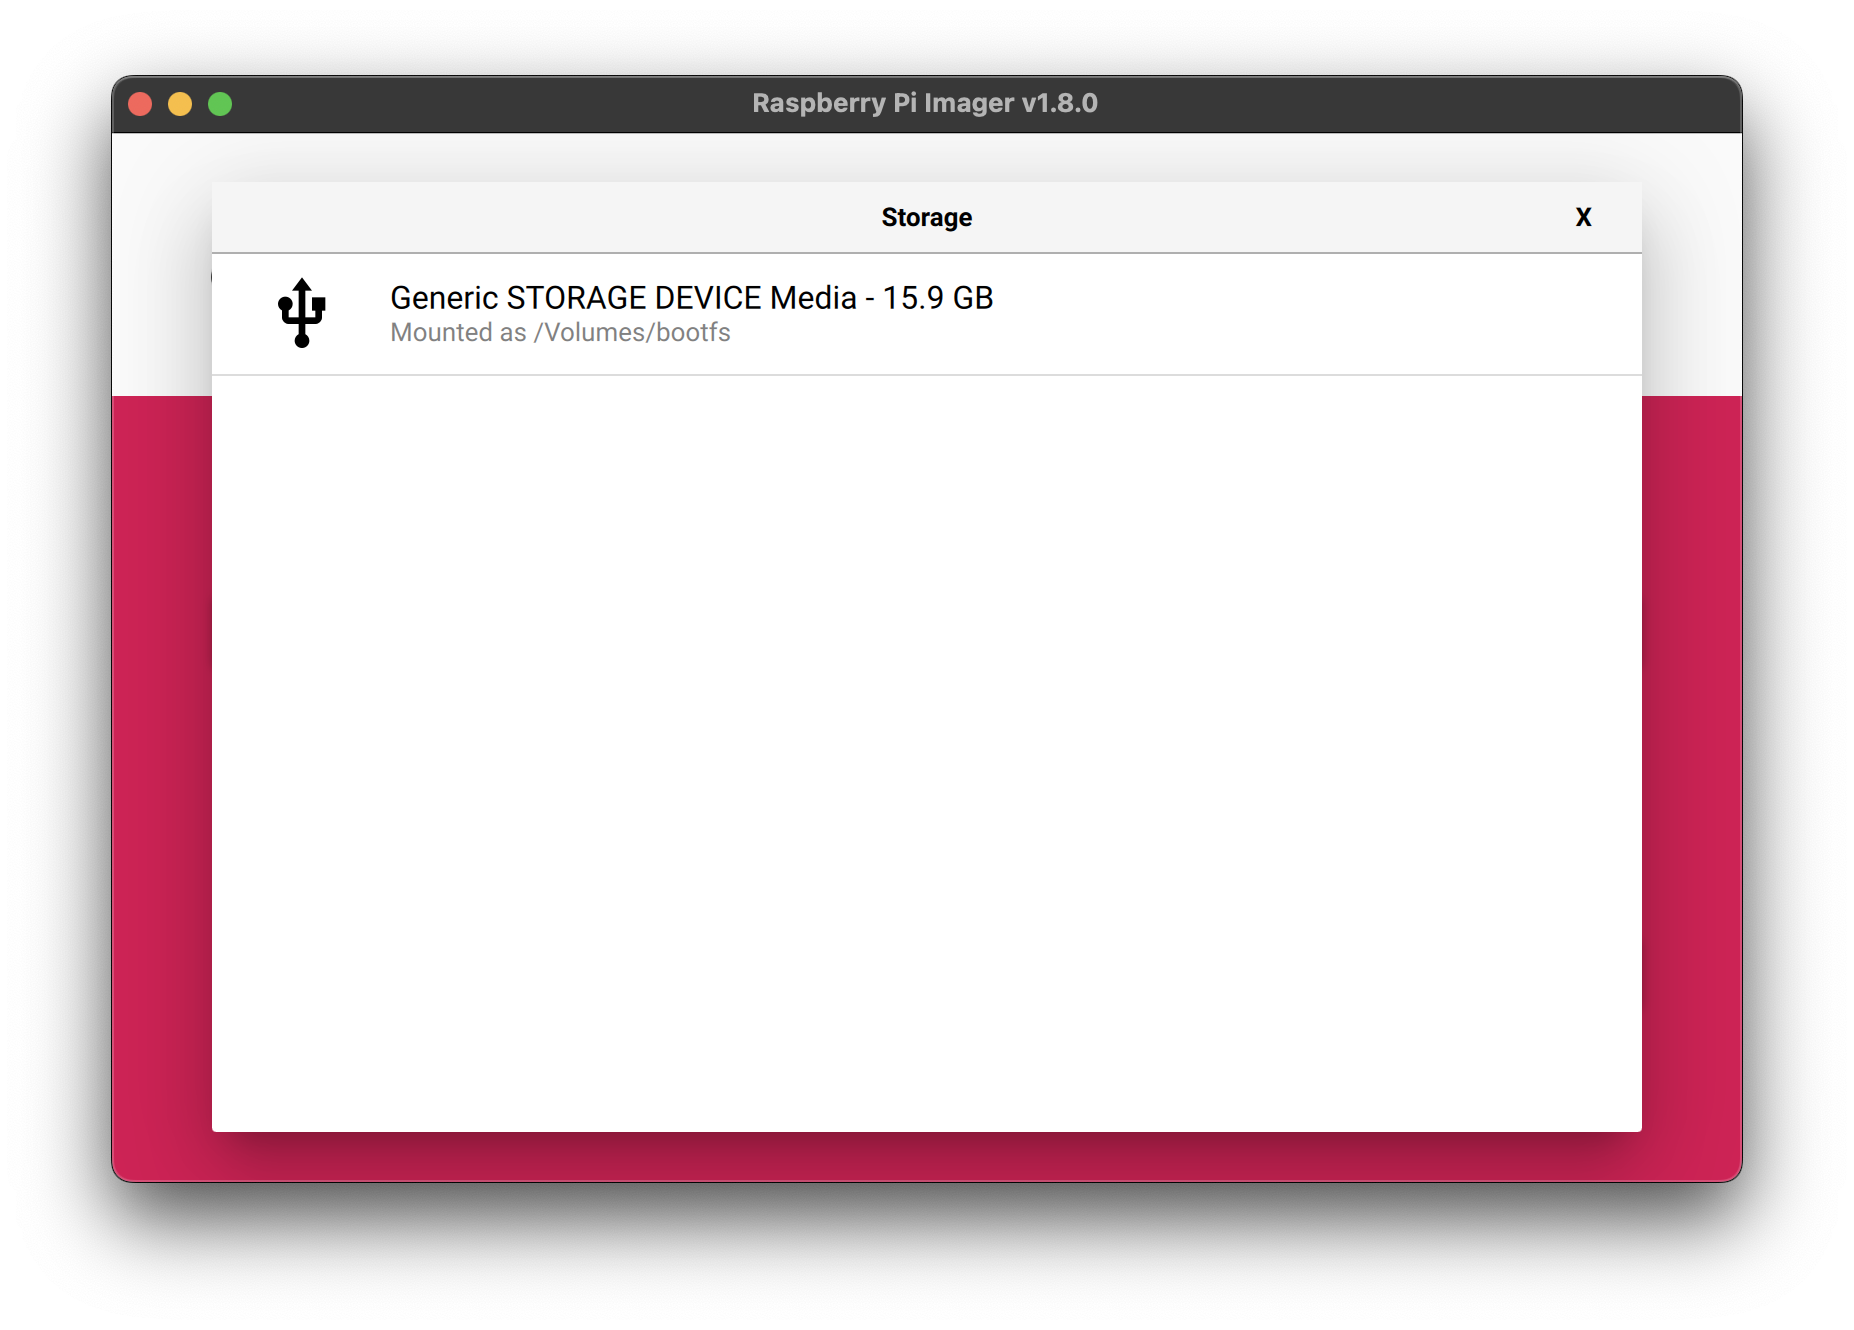
You will then be able to choose on which storage device you want to install the selected OS by clicking on the Choose storage button.
🛠 Configuring your OS#
Here we are at the interesting part: the configuration of our OS directly via the software.
To access the settings, press the following keys: CTRL+SHIFT+X.
Let’s go through all the available settings.
General#
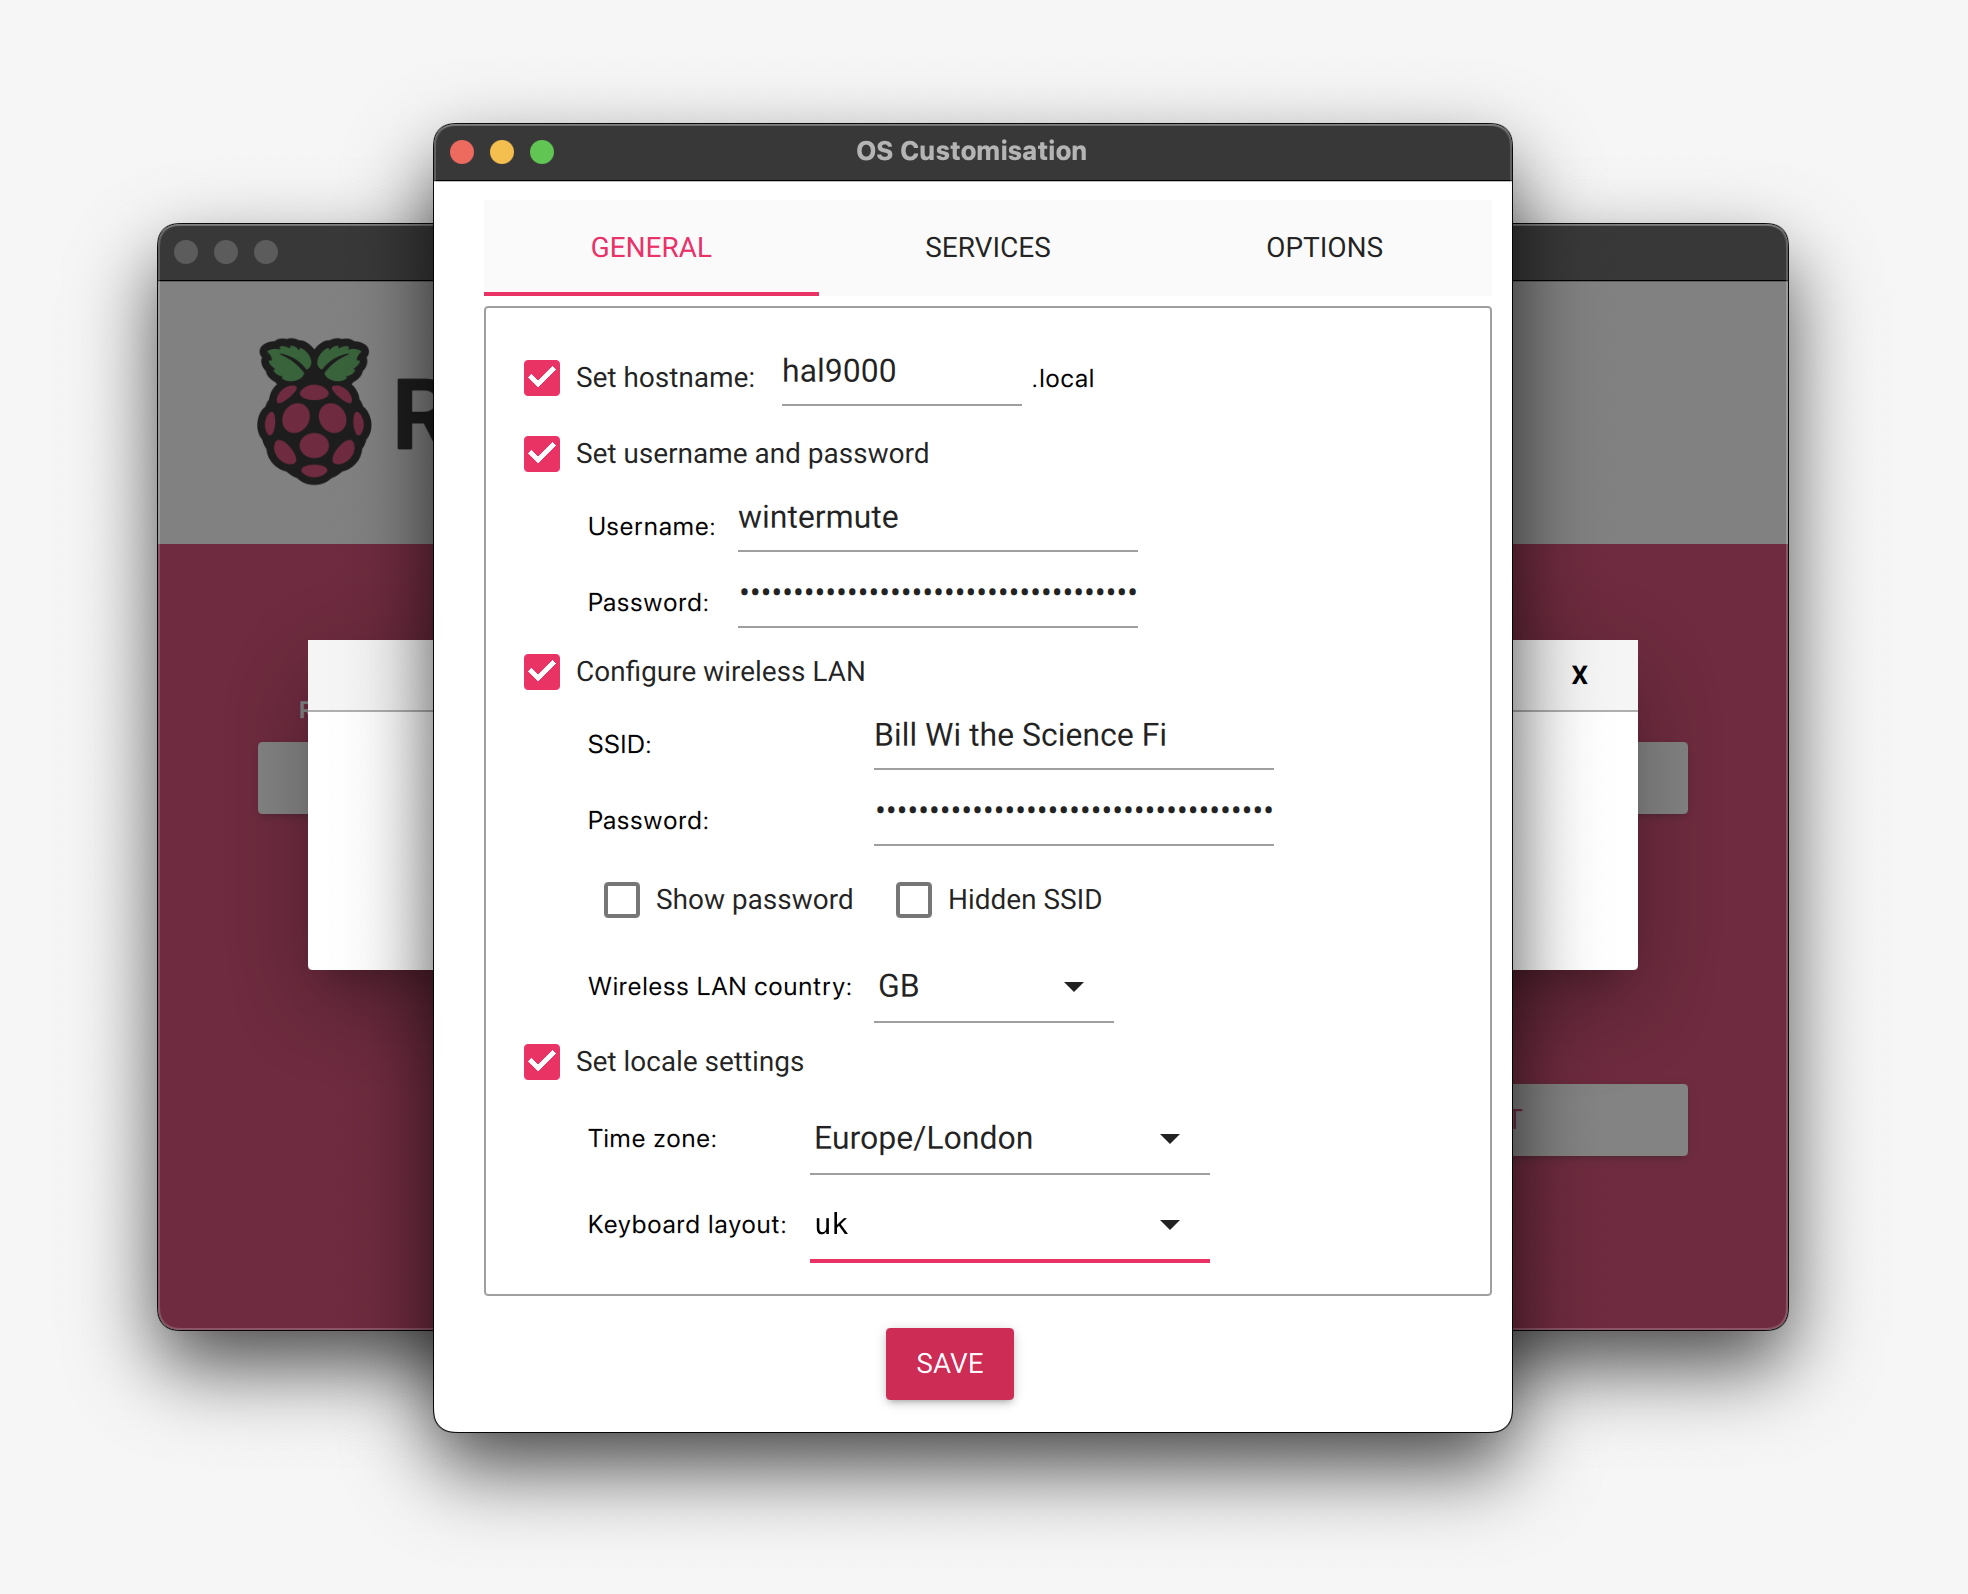
- Set hostname : define a hostname for your Raspberry
- Set username and password :
Username: usernamePassword: user password
- Configure wireless LAN :
SSID: name of the Wi-Fi network you wish to connect toPassword: Wi-Fi network passwordShow password: display password charactersHidden SSID: if the Wi-Fi network name is maskedWireless LAN country: code of the country in which your network is located
- Set locale settings :
Time zone: time zoneKeyboard layout: keyboard configuration (language)
Services#
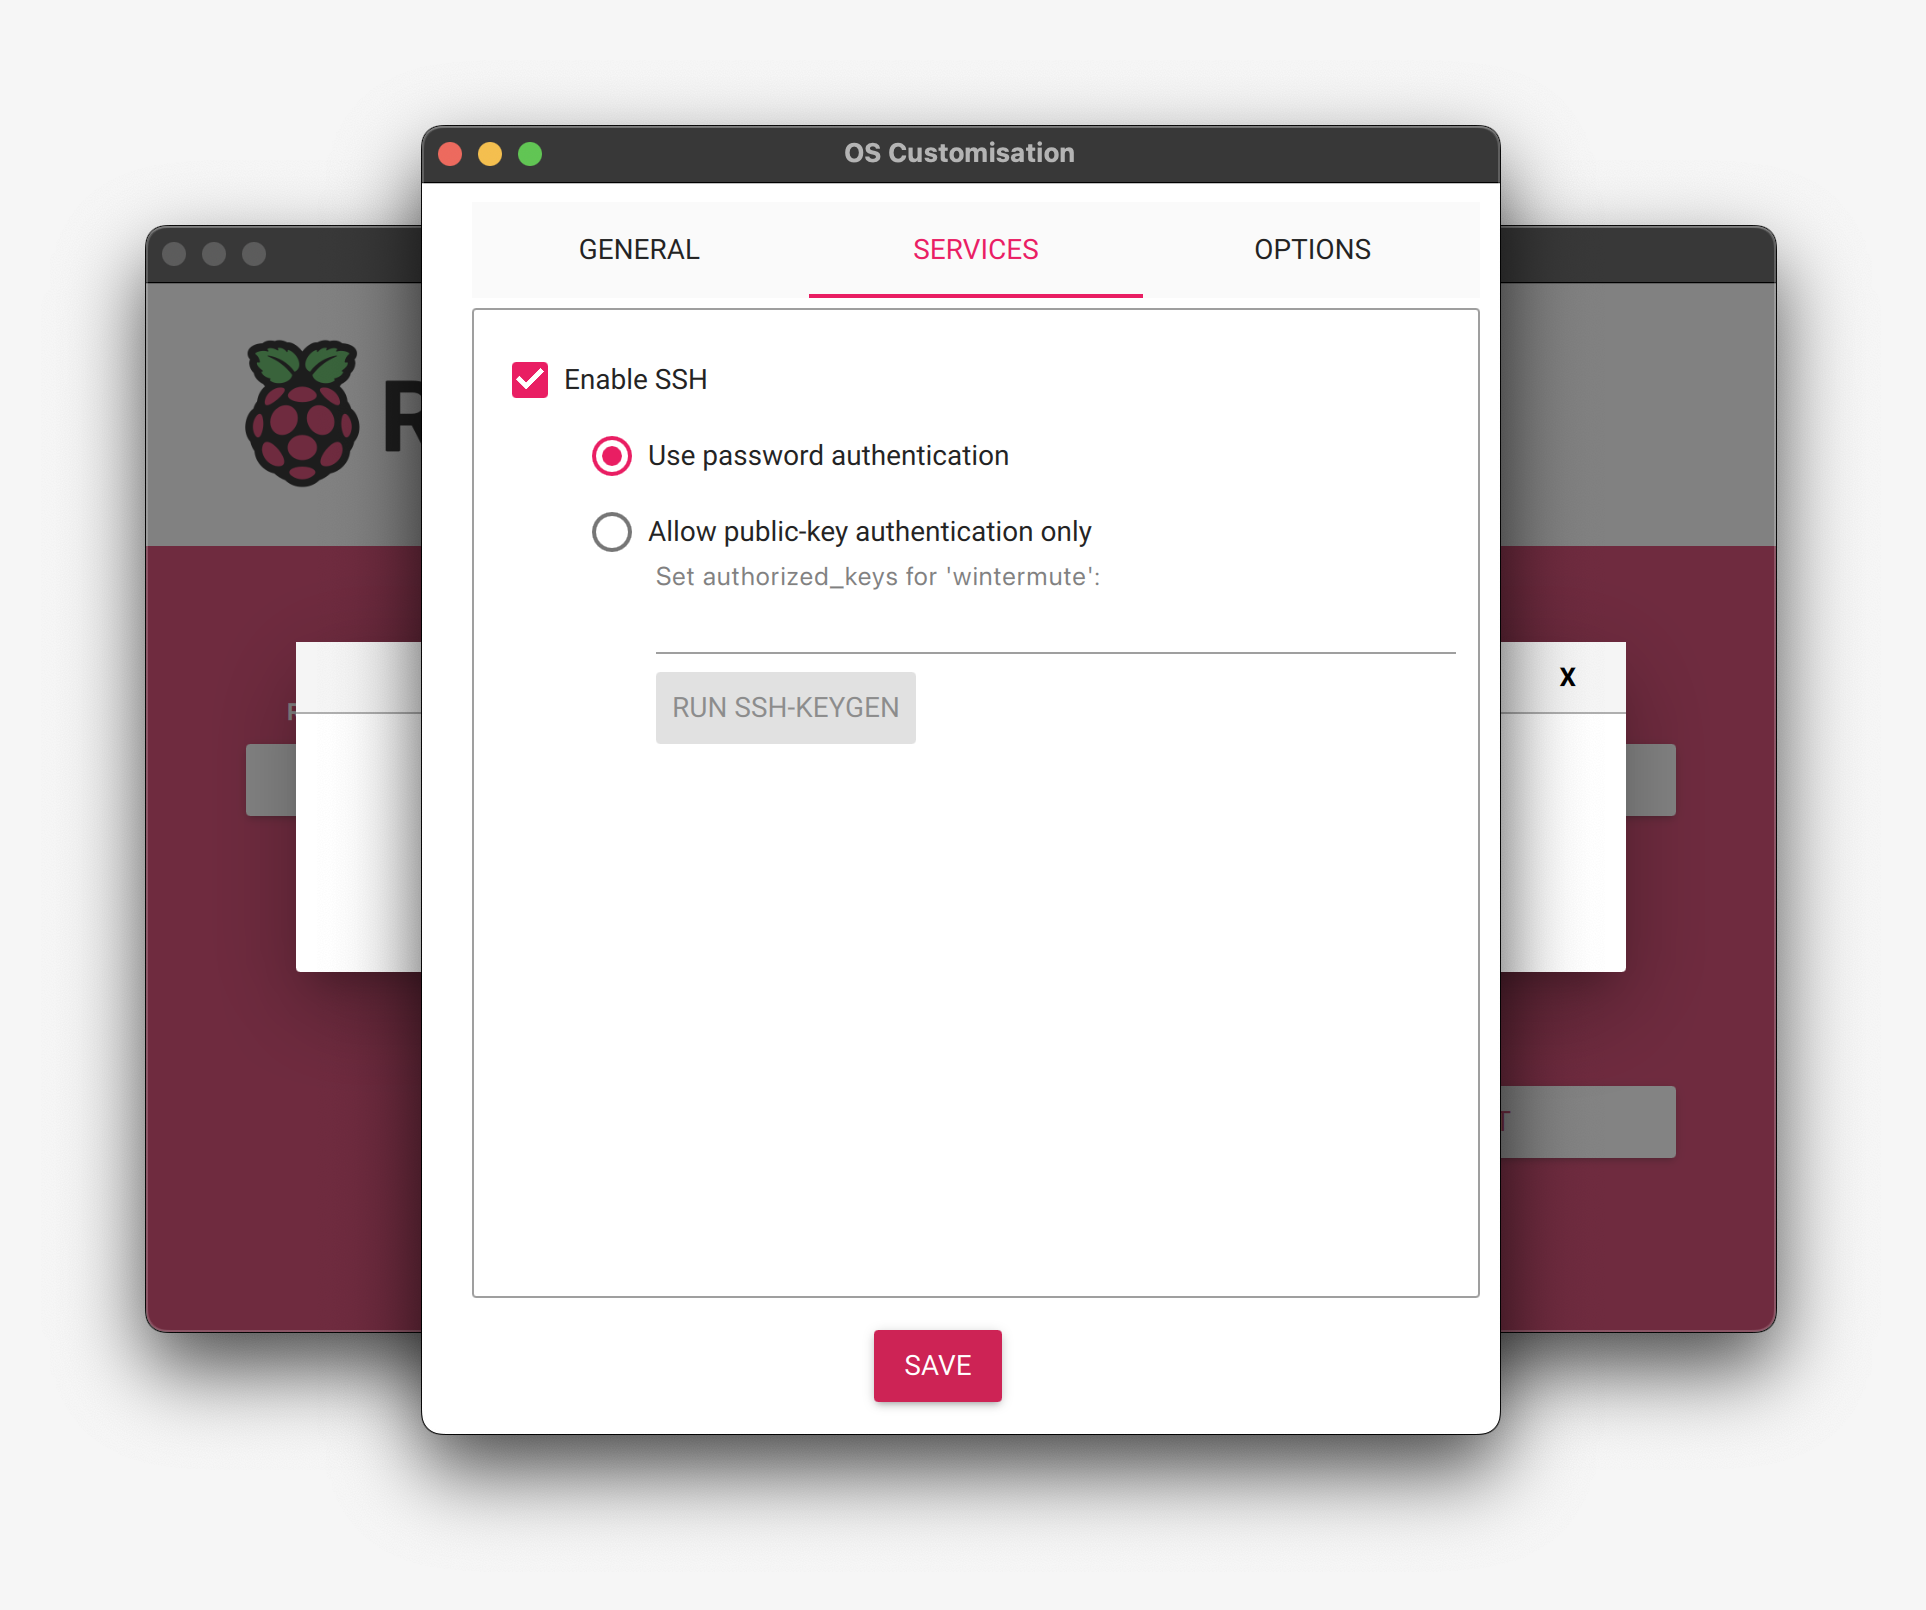
- Enable SSH :
Use password authentification: to authenticate with passwordsAllow public-key authentification only: to authenticate only with key pairs (you’ll need to enter the public keys in the field)RUN SSH-KEYGEN: to generate an SSH key pair in your home folder (~/.ssh) and use it to authenticate yourself
Options#
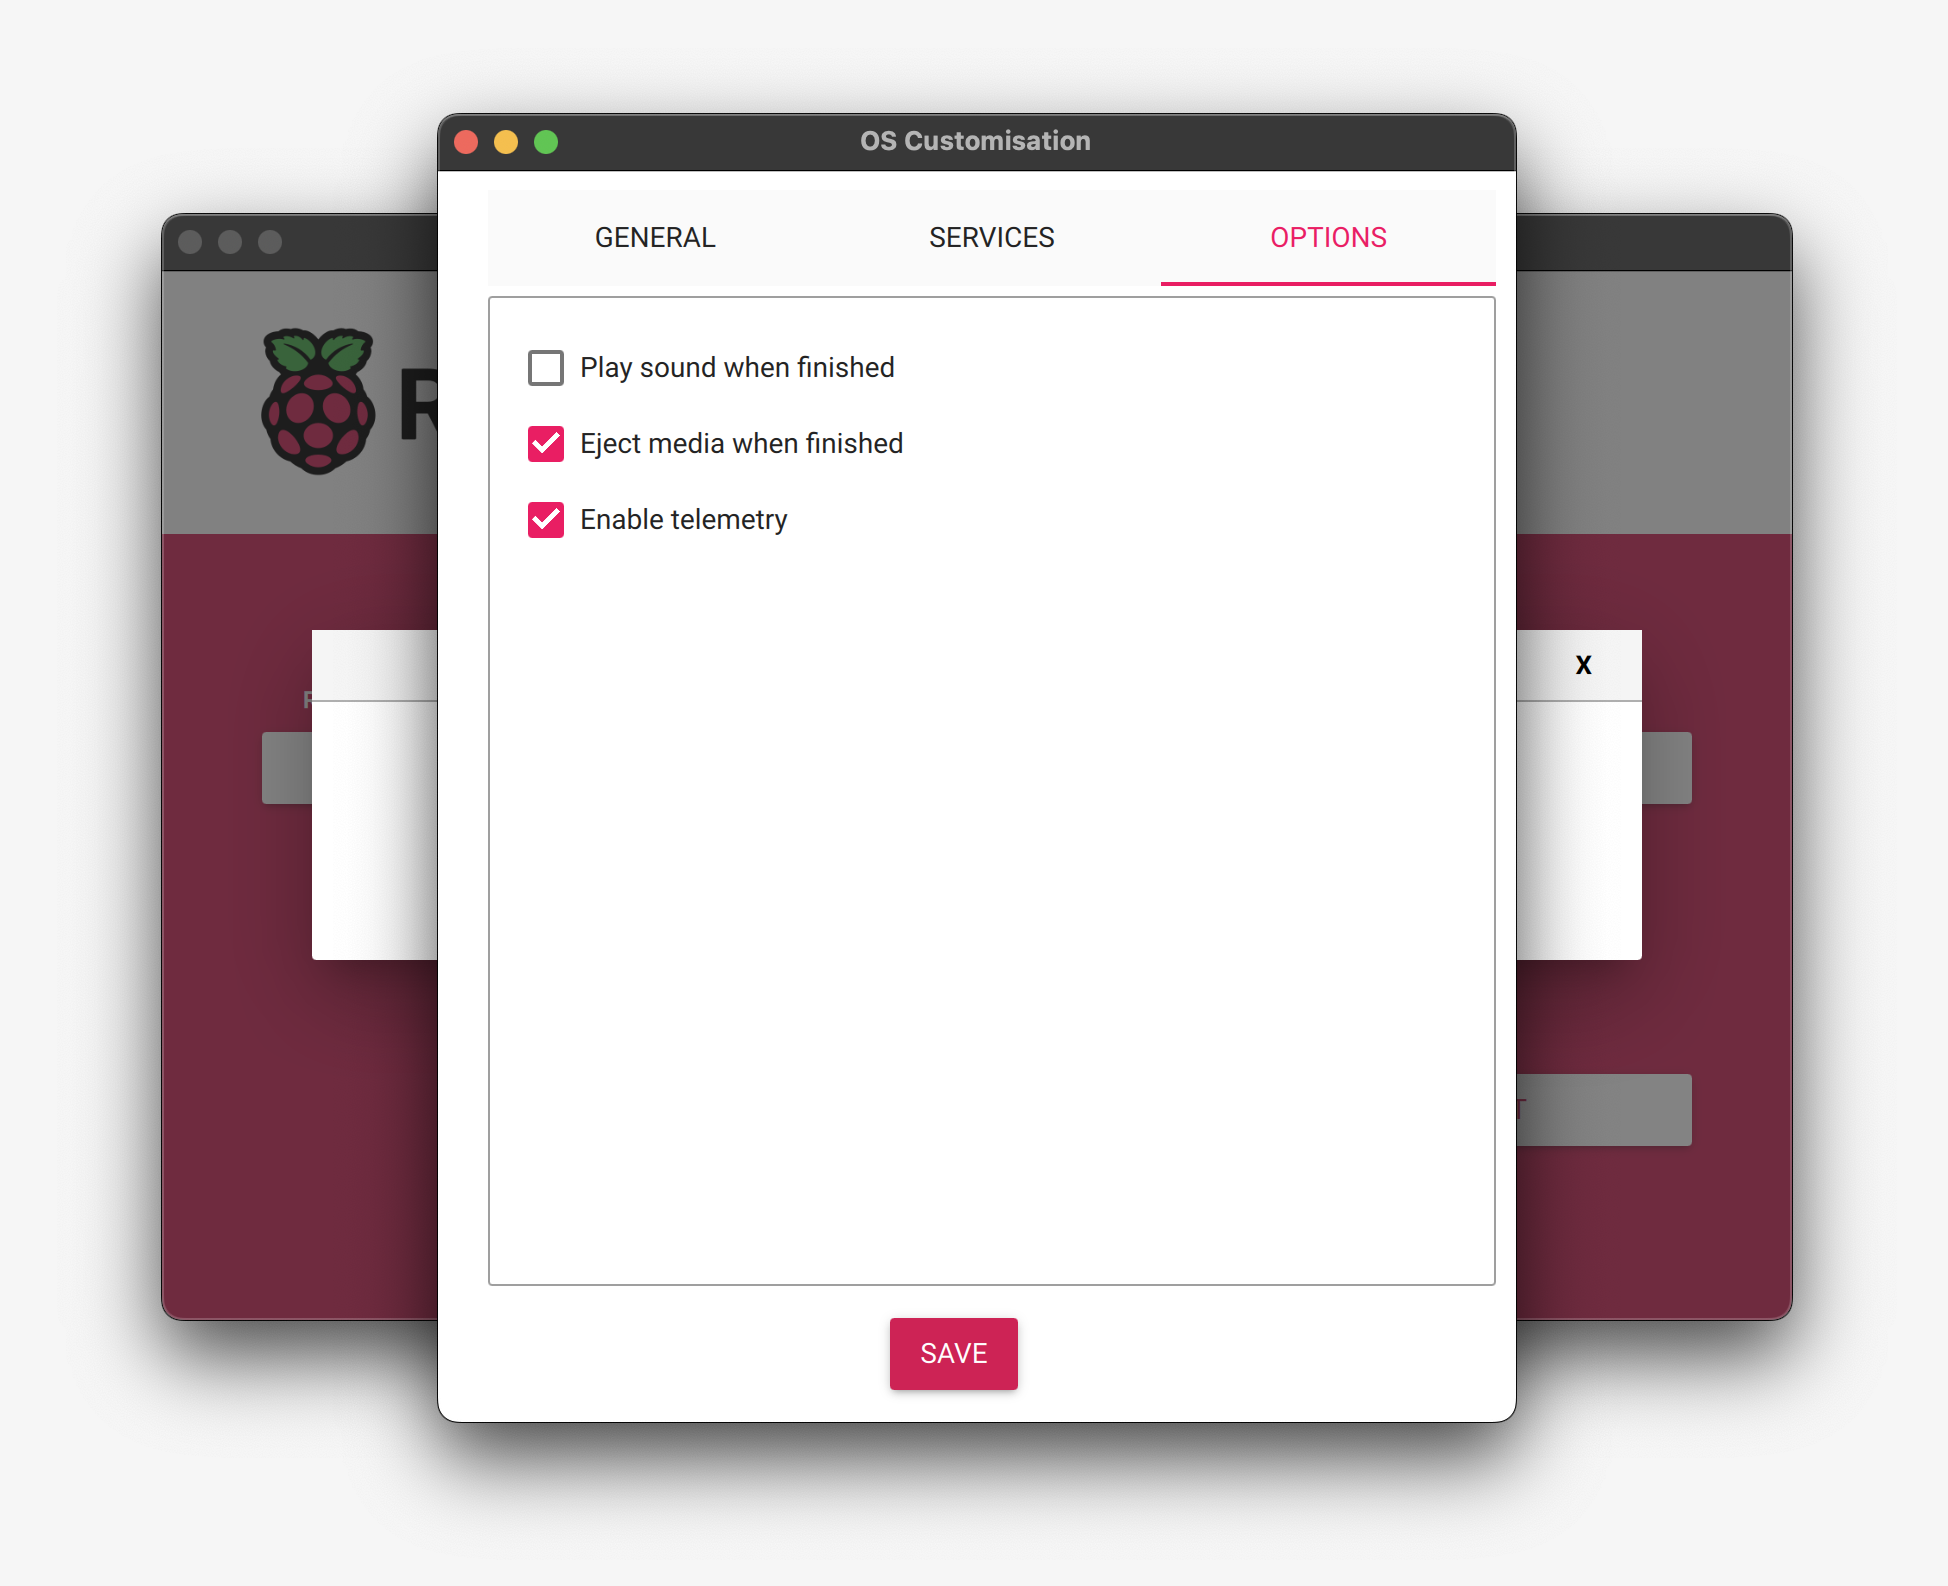
- Play sound when finished : it notifies you once OS writing is complete
- Eject media when finished : the microSD card used to flash the OS will be automatically ejected at the end of the process
- Enable telemetry : if you wish to share your information with developers
Once you have entered your settings, you can click on the Save button to save your configuration.
That’s it ✅
You can now start writing the OS to the microSD card and insert it into your Raspberry once the process is complete.
The rest is the same as the first article I published on the subject:

