In this article we will see how to set up your hacking Raspberry Pi Zero W with P4wnP1 A.L.O.A.
⚙️ Required materials#
- Raspberry Pi Zero W (W stands for WiFi)
- MicroUSB cable
- MicroSD Card (8Gb or more)
- SD Card adapter (if your computer needs one)
💾 Flashing the OS into the microSD card#
First of all, you will need to download and install the official Raspberry Pi Imager software from their website.
Another alternative is the Balena Etcher software available on their website.
You will also need to download the latest image of P4wnP1 A.L.O.A. from the official A.L.O.A. GitHub release page.
P4wnP1 A.L.O.A. by MaMe82 is a framework which turns a Rapsberry Pi Zero W into a flexible, low-cost platform for pentesting, red teaming and physical engagements ... or into "A Little Offensive Appliance".
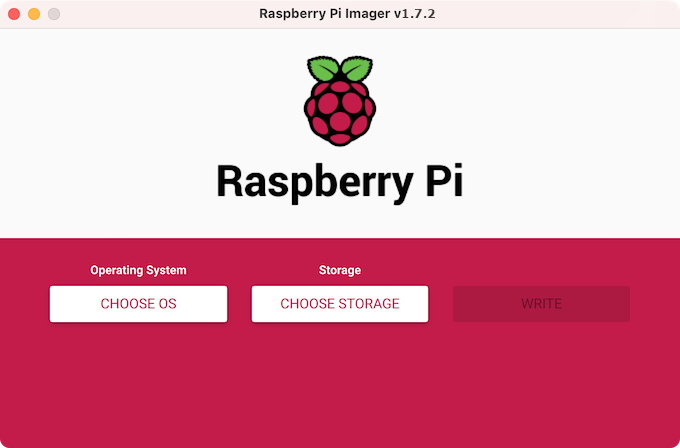
Once this is done, you can insert your microSD card in your computer and open the Raspberry Pi Imager software.
You can now choose the A.L.O.A. OS that you have downloaded and the storage device on which you want to flash the OS you have chosen.

🔥 Starting the Raspberry Pi#
All configurations are now complete.
You can eject the microSD card from your computer and insert it into the Raspberry. Now you can connect your Pi to your computer using a microUSB cable.
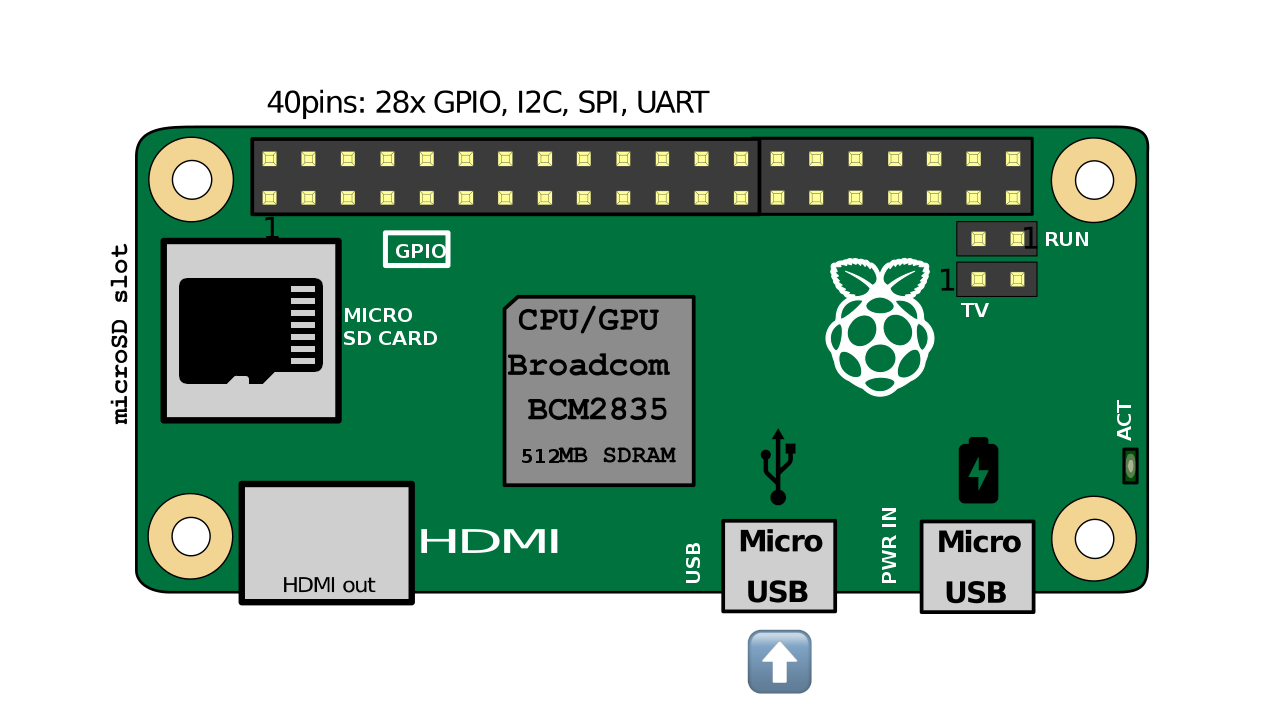
Ensure that the microUSB cable is connected to the first port (USB), then plug it into the target machine.

That’s it ✅
After one or two minutes, your Raspberry should start broadcasting a WiFi hotspot, which should look like the below picture :

You can connect to it with your computer using the password : MaMe82-P4wnP1.
Once connected, open your browser to https://172.24.0.1:8000, which provides you with a convenient GUI for changing any configurations.
🌐 Quick introduction to web GUI#
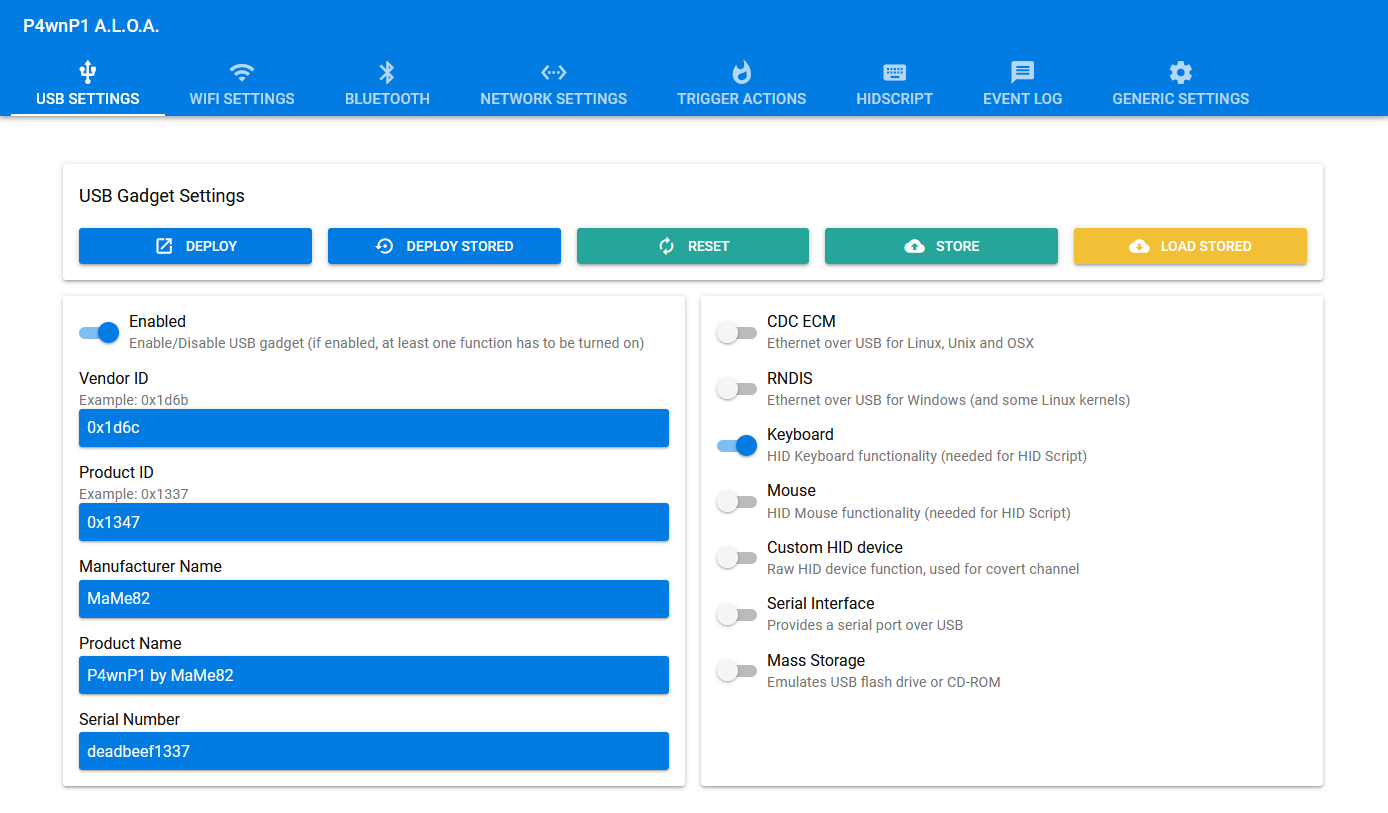
First, let’s take a look at the USB SETTINGS tab :
- To ensure that your Raspberry does not get blocked by the target machine, verify that only the Keyboard functionality is enabled in bottom-right panel
- You should also get your Raspberry to copy the product descriptions of the external keyboard that your target machine is expected to be used with
After all, you do not want to alarm users of the target machine when they see a notification saying : ‘P4wnP1 by MaMe82’ is ready for use.
A quick Google search returns the required information for the keyboard that you are looking for.
Once the relevant information has been updated, hit DEPLOY to effect the changes.
To get these settings to run on startup, save it as a new profile, and set it as the default under the GENERIC SETTINGS > STORE tab.

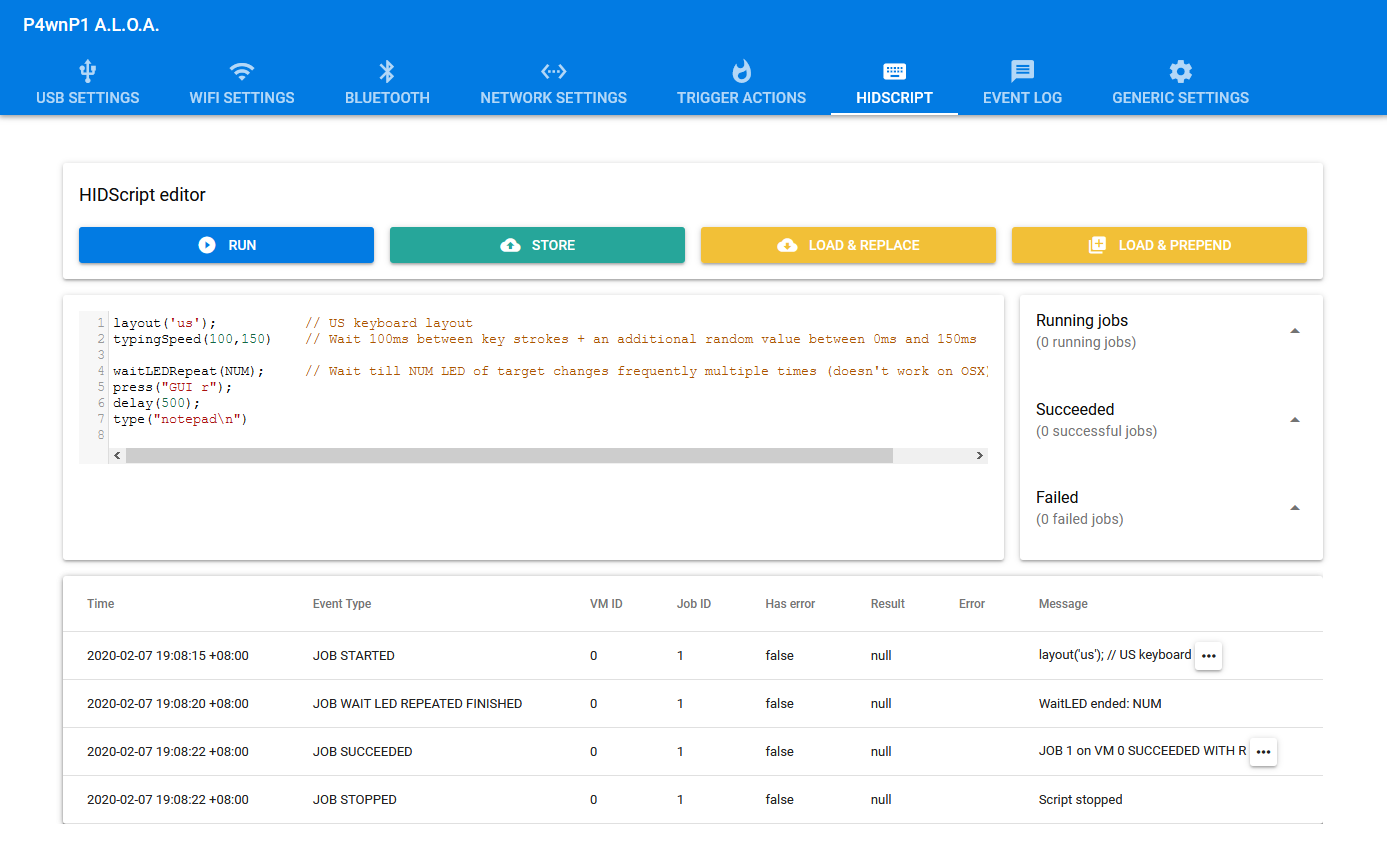
Next, we shall focus on the HIDSCRIPT tab, which is where we can configure the scripts to be run, as well as any results that are returned.
Here is how the attack flow works:

Spend some time looking through the README file, as well as the default scripts that are shipped with the A.L.O.A. image by default — accessible via the LOAD & REPLACE button.
This will allow you to quickly familiarize yourself with the standard functions that are available for you to use.
Take note that while the HID scripts are to be written in JavaScript, methods such as setTimeout, setInterval, and even Promises, do not appear to be available for use.

Whenever a script runs to completion successfully, it will be appended to the Succeeded section on the right panel. If your script has been written to return a result, you can view the details by click on the ℹ️ tooltip.

🔗 Connecting with SSH#
The default credentials are :
- login =
root - password =
toor
Linux#
If your computer is running Linux, this is relatively simple.
Open a new terminal and type the following command :
ssh root@172.24.0.1
Press Enter, type the password and you should be connected to your Raspberry.
Windows#
If your computer is running Windows, you have two possibilities to connect to your Raspberry with SSH :
- Use a command prompt (cmd.exe or powershell) and perform the same operation as for Linux
- Use an SSH client (I recommend using PuTTY)

